Introduction
The Confirm Web - Reporting is a web-based interface for creating and running reports.
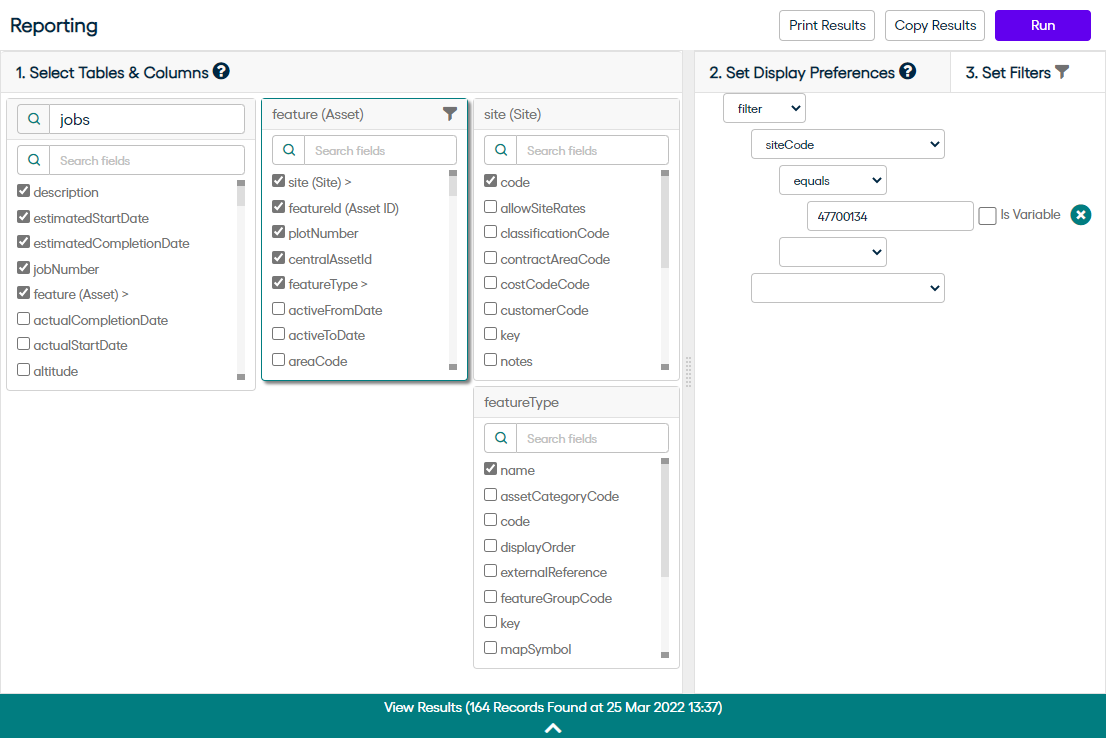
The Reporting page can be accessed via the Navigation Panel.
To access the Confirm Web Reporting, users will need ‘View’ access to the 'Data Queries' screen in their user Program rights in Confirm.
How to use Confirm Web - Reporting
- The Select Tables & Columns section, at the top left, where the tables and columns to be interrogated are selected.
- The Set Display Preferences section is found in the tabbed box at the top right-hand side.
- The Set Filters section is found on the other tab of the top right-hand box.
- The Report Results are seen along the bottom of the screen.
Select Tables & Columns
In this section users can select table(s) and corresponding column(s). Users can select multiple tables and columns to generate a report.
Clicking on the 'Search entities' box will list all available entities. Table and Column names are typically based on the names in Confirm.
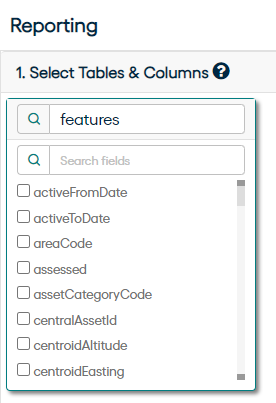
For instance, Feature related tables can be found by searching for text 'feature'. To select columns available within Feature table, select Features which loads the Feature entity and lists available columns in search-able drop-down list, as seen below:
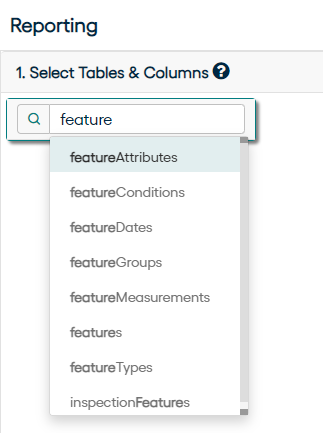
Columns can be selected from the list, or by searching using the ‘Search entities’ box.
The first table of the report, displayed at the top left is the root table. Linked tables may be opened to the right of the root table by selection from the 'Search fields' list. Linked Tables will be seen with a greater than (>) symbol at the end of their names.
Set Display Preferences
This section is used to set the preferences for displaying the results.
| Report Name | Apply a name for the report which can be used in header or footer in the PDF output. This setting is available only in the root table of the report and defaults to the root table name. |
| Image Maximum Height/Width (in px) | This setting determines the height and width for images that will be included in the report and can be specified as values between 30 and 9999 pixels. When one of the image dimensions - height or width exceeds the maximum size, it is reduced to meet the maximum size, and the aspect ratio is maintained by reducing the other dimension. This setting is available only in the root table (first on the left) of the report and defaults to the 1000 pixels. |
| Table Name | This field is only available for tables other than the root table. It can be used to override the display name of the selected table. This field defaults to the actual table name. |
| Display Layout | This can be used to specify the layout of the selected table. Currently, three display options are supported:
This field defaults to the 'Display as Table' for the root table and for all other tables 'Display follows from parent' is used as default. |
| Columns Name | This can be used to override the display name of the columns in the selected table. Defaults to the actual column name. |
- Be made up of only alphanumeric characters,
- Start with an alphabetic character,
- Have no spaces.
Special characters, except underscore ‘_’, are not supported.
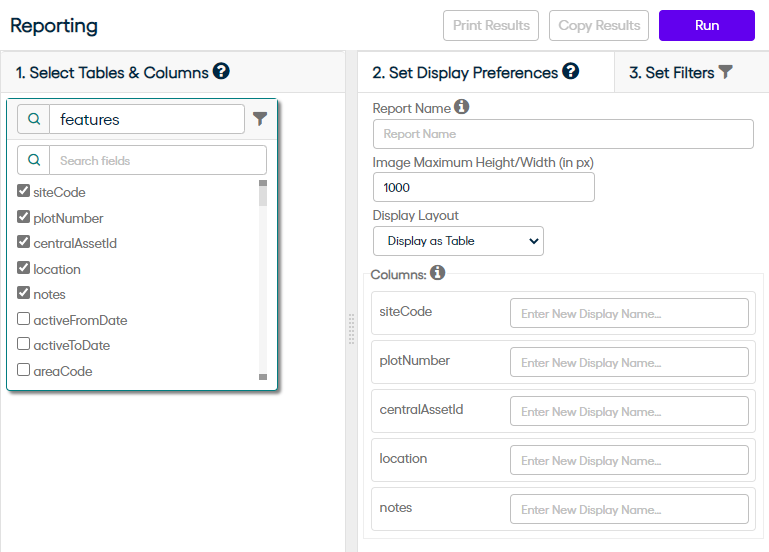
All Display Preferences are optional and if not specified then default values will be used while running the report.
Sample screen-shot is as below:
Set Filters
- Static filters will be applied every time the report is run unless the filter options are changed.
- Dynamic filtering is applied by selecting the 'Is Variable' checkbox. This means that the filter value must be entered each time the time the report is run.
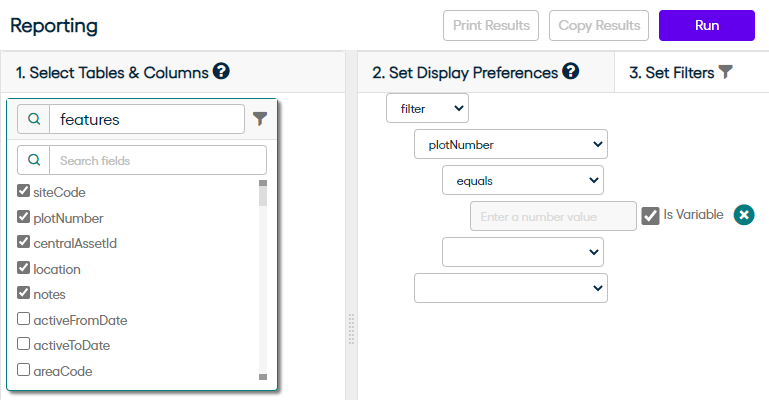
Once a filter is set it can be removed by clicking the Clear Filter icon.
Running a Report
Clicking on the 'Run' button will display the results in the results panel, which is maximized by default. Users can toggle between the Result panel and the Settings panel as desired.
If one or more columns are indicated as variable(s) clicking on the run button will prompt the user to enter value(s) for the specified column(s).
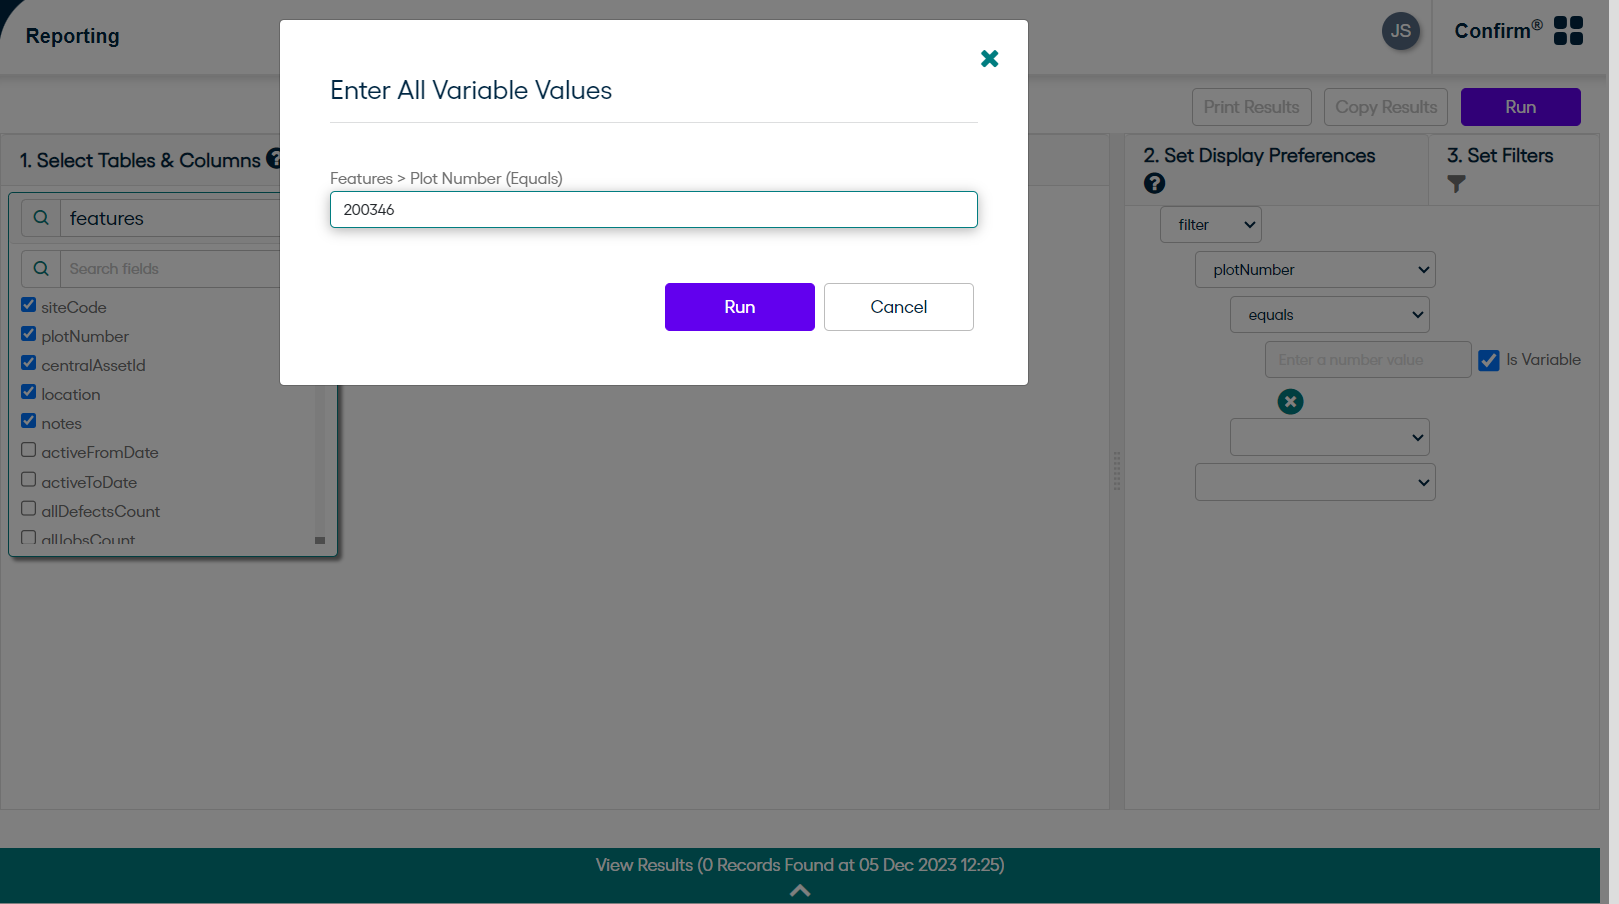
Populating the variables and clicking the 'Run' button on the Pop-Up will run the report and display the results.
The results can be saved in the PDF format by clicking on the 'Print Results' button after expanding the Results panel.
'Copy Button' can be used to copy the results and then paste it in external applications like excel spreadsheet.
Saving a Report
Running a Report embeds its configuration in the URL. Bookmark the report URL to save it and make it available to be run again.
Where a linked document is an image, the images linked to an entity can be viewed in the results and included in the output PDF as well.
Where the linked document is not an image, an icon will be displayed with the file extension.
Files that can be opened by a browser, such as text files or with the help of a plug-in like Adobe Reader for PDFs, will open directly in the browser.
Where a file cannot be displayed it can be downloaded locally on the User's computer.
Example Report
Below is an example of a sample Job report having few Job details, some columns from associated Feature table, some columns from linked Defects & Jobs, linked documents and the jobNumber is set as a variable here.
Sample URL: http://ConfirmWebServer/confirm/web/app/index.html?tenant=DatabaseId#/reporting?query=%7BJobReport:jobs(filter:%20%7BjobNumber:%20%7Bequals:$jobs_jobNumber_equals%7D%7D)@_card@_size_800%7BjobNumber%20asset:feature@_table@_size_800%7Bsite@_size_800%7BcentralSite@_size_800%7BsiteName:name%7D%7D%20Alias:featureId%20sequenceNumber:plotNumber%20featureType@_size_800%7BassetType:name%7D%20centralAssetId%7D%20description%20location%20estimatedStartDate%20estimatedCompletionDate%20jobType@_size_800%7BjobType:name%7D%20statusLogs@_table@_size_800%7BloggedDate%20jobStatus@_size_800%7BjobStatus:name%7D%20statusNotes%20loggedByUser@_size_800%7BloggedByUser:email%7D%7D%20attachments:documents@_card@_size_800%7BimageName:documentNotes%20image:url%7D%20enquiries@_card@_size_800%7BenquiryNumber%20centralEnquiry@_size_800%7BenquirySubject@_size_800%7BsubjectName:name%7D%20loggedDate:loggedDate%20statusLogs@_table@_size_800%7BloggedDate%20enquiryStatus@_size_800%7BjobStatus:name%7D%20notes%20loggedByUser@_size_800%7BloggedByUser:email%7D%7D%20attachments:documents@_size_800%7BimageName:documentNotes%20image:url%7D%7D%7D%20defects@_size_800%7BdefectNumber%20defectType@_size_800%7Bname%7D%20loggedDate%20targetDate%20attachments:documents@_size_800%7BimageName:documentNotes%20image:url%7D%7D%7D%7D
